
Choose the right bio link tool
Your bio link is the only clickable destination in your Instagram or TikTok profile. Picking the wrong tool can cost you clicks, but you don't need to overcomplicate this. The right choice depends on your budget and how much control you want over the page design.
Most creators start with a free tier to test the waters. These plans usually include basic analytics and a limited number of links. If you are serious about converting followers into customers, a paid plan often pays for itself with better customization and higher click-through rates.
Compare the top options below to see which features matter most for your specific workflow.
| Tool | Price | Best Feature | Best For |
|---|---|---|---|
| Lnk.Bio | One-time fee | Lifetime access | Minimalists |
| Bio Sites | Free tier available | Squarespace integration | Brands |
| Bio Link | Free tier available | Full site builder | Creators |
| Canva | Free tier available | Drag-and-drop design | Visual storytellers |
If you are looking for hardware to manage your content creation workflow, here are some essentials.
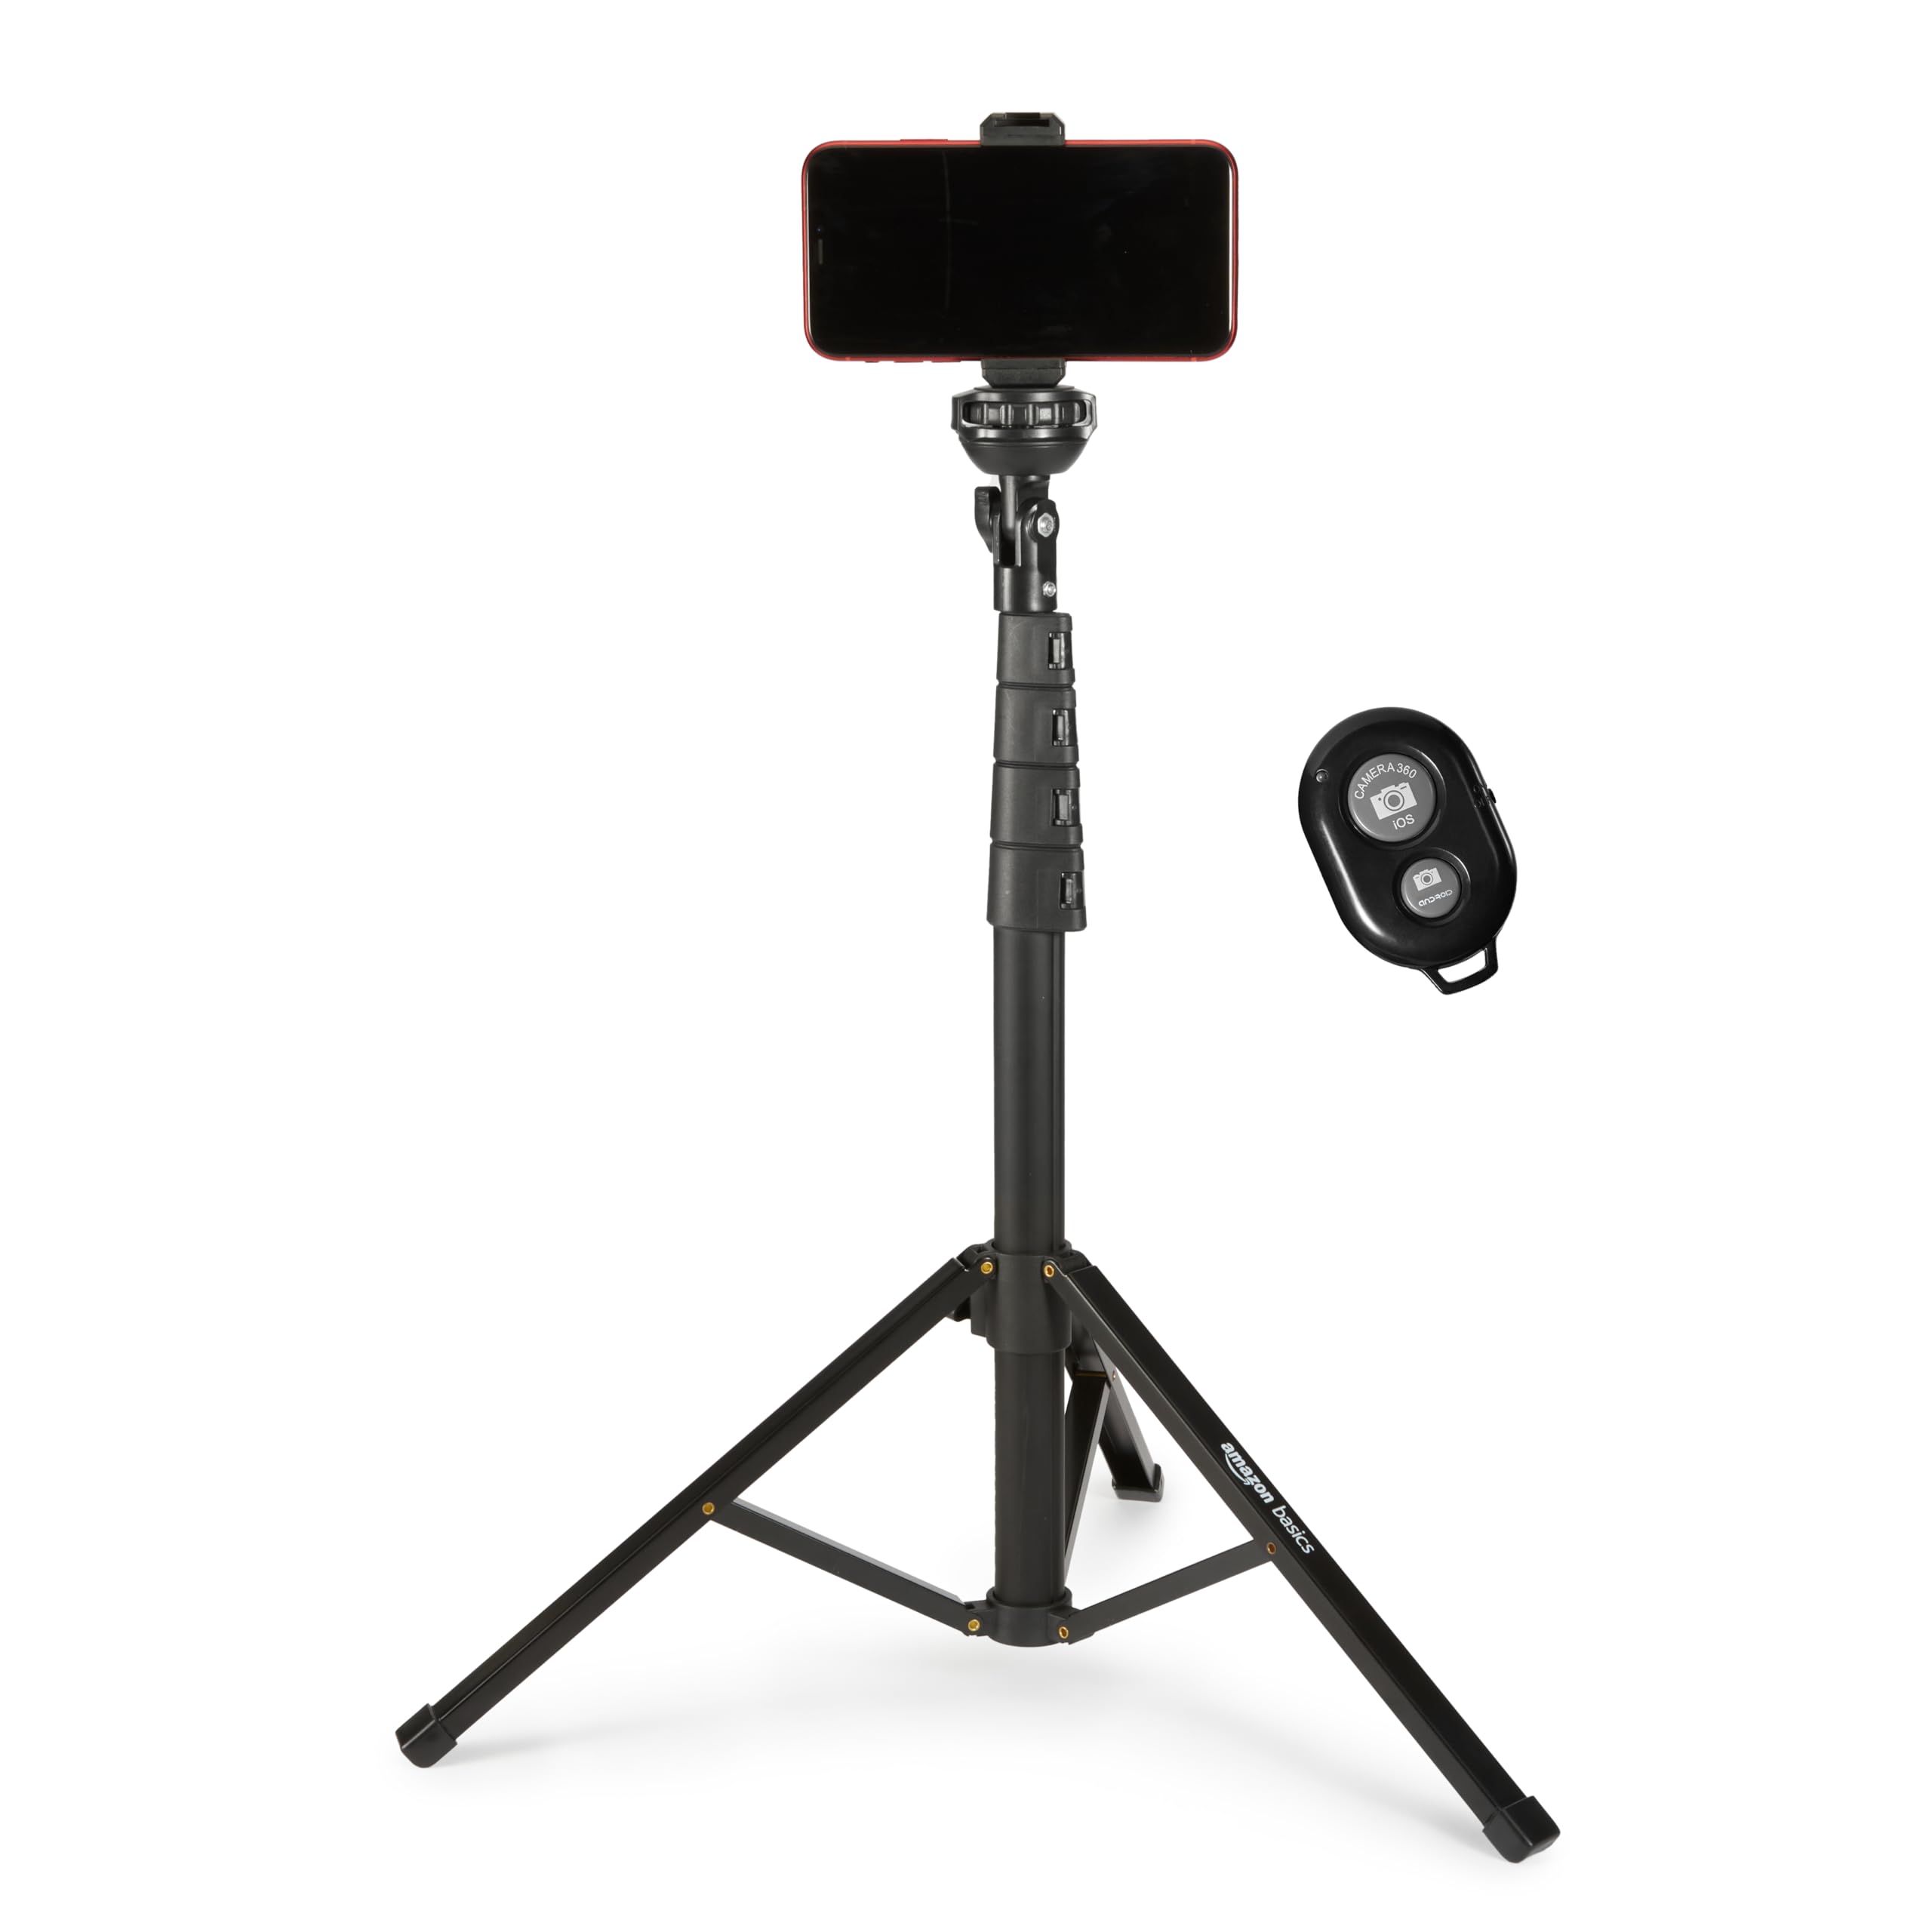


As an Amazon Associate, we may earn from qualifying purchases.
Set up your custom domain and profile
Before you start adding buttons, you need a clean foundation. A bio link is the digital handshake between your Instagram or TikTok audience and your actual content. If the URL is messy or the profile looks generic, you lose trust before they even click.
Think of your bio link as a storefront window. You want it to be clear, branded, and inviting. A custom domain or a clean, branded subdomain tells visitors you are serious. It removes the "temporary" feel of default link-in-bio addresses and makes it easier for people to remember or type your link directly.
Choose a recognizable URL
Avoid long strings of random characters. Pick a domain or subdomain that matches your handle or brand name. If you are @janecreates, try janecreates.link or jane.link. Keep it short. If you have to explain how to spell it, it’s too long. This URL will live in your social profiles forever, so pick something you won’t outgrow in six months.
Configure basic profile details
Your bio link page needs a face. Upload a high-resolution profile picture that matches your social media avatar. This creates visual consistency. Add a one-sentence description that explains who you are and what you offer. Be specific. "Digital Artist" is better than "Creator." "Helping small businesses with SEO" is better than "Marketing expert."
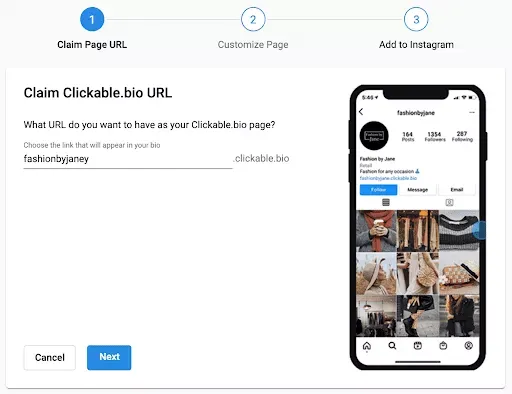
Log in to your bio link provider (like Bio Link). Navigate to the domain settings. If you already own a domain, point your DNS records to your provider. If you don’t, buy one through their integration. Verify ownership. This step ensures your custom URL loads correctly and securely with HTTPS.
Go to the profile or settings section. Upload a square, high-resolution image. Use the same photo you use on Instagram and TikTok. Consistency builds recognition. Ensure the image is cropped to fit the circular or square avatar frame provided by your tool. Avoid busy backgrounds that make the face hard to see.
Add a concise headline and sub-headline. The headline should be your name or brand. The sub-headline should state your value proposition in 10-15 words. Example: "Jane Doe | Minimalist Home Decor." Keep it plain text. Avoid emojis in the main headline; save them for the buttons below.
Test the link
Once the domain is connected and the profile is set, test it. Open your bio link in an incognito window. Check the load speed. Ensure the profile image displays correctly on both mobile and desktop. Click through to your social profiles from the new bio link page to ensure there are no broken links. A broken link at the top of your funnel hurts credibility more than no link at all.
Add and organize your key links
Your bio link is prime real estate. You have seconds to convince a visitor to click, so the order of your links matters more than the number of links you add. Treat the top slot like a billboard: it should feature your highest-value content, whether that’s a new product launch, your latest video, or a limited-time offer.
Start by adding your links to your bio link tool. Most platforms let you add multiple URLs from a single dashboard. Once the links are in the list, you need to arrange them. Do not leave them in the default alphabetical or chronological order. Instead, use the drag-and-drop feature to move your most important link to the very top.
Prioritize high-value content
Place your primary conversion link first. If you are selling something, put the shop link at the top. If you are growing an audience, put your latest TikTok or Reel there. This ensures that anyone arriving from your social profiles sees your current priority immediately without scrolling.
Group related links
Keep similar links together to reduce cognitive load. If you have multiple social profiles, stack them in one section. If you have a series of blog posts or tutorials, group them under a single category or close together. This creates a cleaner, more professional appearance that guides the visitor’s eye naturally down the page.
Use descriptive labels
Avoid vague labels like "Link 1" or "Click Here." Use clear, action-oriented text that tells the user exactly what they will find. For example, use "Shop Summer Collection" instead of "Shop." This small detail increases click-through rates by setting clear expectations.
Design for mobile engagement
Since 99% of your traffic comes from phones, your bio link must function as a thumb-friendly interface, not a miniature website. Mobile users scroll with their thumbs, meaning clickable elements need generous touch targets and clear visual hierarchy. If a button is too small or crowded, users will bounce before clicking anything.
Start with contrast. Use a bold, solid background color behind your primary call-to-action buttons. White text on a dark blue or black button stands out sharply against most page backgrounds. Avoid subtle gradients or low-contrast colors that blend into the design. The goal is instant recognition: the user should know exactly where to tap without thinking.
Tip: Test your bio link on a small screen before publishing. Open it on an older, smaller phone if possible to ensure buttons don’t overlap or become too cramped.
Speed matters as much as design. Mobile users are often on cellular data and have little patience for loading screens. Optimize all images to web formats like WebP and keep file sizes under 100KB. A bio link that takes more than two seconds to load loses conversion momentum. Use a tool that serves content via a fast CDN to minimize latency.
Finally, limit the number of links. While some tools allow dozens, a mobile screen shows only three to four items clearly before requiring a scroll. Prioritize your highest-converting offer at the top. Every additional link below the fold increases friction and reduces clicks. Keep it simple, fast, and impossible to miss.
Place the link in Instagram and TikTok
Your bio link is the only clickable address on your profile. If it points nowhere, you lose every visitor who scrolls past your content. Here is how to update it on both platforms so the path to your offer is clear.
Open Instagram and go to your profile. Tap Edit Profile directly below your bio text. Locate the Links section and tap Add Link. Paste your URL, set the title (e.g., "Shop Now"), and tap Done. This link appears prominently in your bio and as a clickable sticker in Stories.
Go to your TikTok profile and tap Edit Profile. Scroll to the Website field. Enter your full URL. Tap Save. Unlike Instagram, TikTok only allows one website link in the main profile field. Ensure this is your most important destination.
Both platforms treat this single link as your primary traffic driver. Keep it updated, and avoid using expired URLs. If you need multiple destinations, use a dedicated bio link tool to house them all under one address.
Track clicks and improve performance
A bio link is only as strong as the data it generates. Without tracking, you are guessing which content drives traffic. Treat your analytics dashboard as a feedback loop: measure, adjust, and repeat.
Start by identifying your top-performing link. This usually reveals what your audience values most. If a specific video or product page gets the most clicks, move it to the top. If a link consistently underperforms, replace it with something more relevant or update the call to action.
Weekly Bio Link Audit
Set aside time each week to review your metrics. Keep your bio link fresh and accurate.
- Check for broken links that lead to 404 errors.
- Update the top link to highlight your latest content or offer.
- Review click-through rates (CTR) to spot trends in audience interest.
-
Check for broken links
-
Update the top link
-
Review click-through rates
No comments yet. Be the first to share your thoughts!